Thursday, February 7, 2013

Prelude to Palo Alto Grill part 2 - Salads and Emulsion Dressings

Salad madness continues today as we round out the rest of the first section of our little menu here.  Attempting to round things out and maintain a California feel, we moved onto the steakhouse classic the chop salad.  Ironically, the Chop Salad being as much of a steakhouse standby as the Wedge Salad, and the two being essentially polar opposites in format.  While a wedge involves a large, unadulterated wedge of lettuce, the chop salad consists of many ingredients, chopped quite fine.  
In no particular order, they are:
Diced Onion
Diced Radish
Diced Swiss Cheese
Chopped Artichoke Hearts
Diced Carrots
Dried Currants
Toasted Pumpkinseeds
Chopped Boiled Egg
(whites and yolks)
Diced Green Olives

Last but not least: Shredded Iceberg 


Original plan is to arrange everything in rows, to avoid the potential messy look of a chop salad.  


The plan is to drizzle a bit of Green Goddess Dressing over the salad, potentially tableside.  (recipe following)


After a light toss...


Green Goddess Chopped Salad

coming soon.... 


 Green Goddess Dressing is an emulsification style dressing, made with a combination of herbs.  It was invented in San Francisco at the Palace Hotel in the 1920's.  True Californian original dish.  Eat lots of it.  Its better than Ranch Dressing (which is gross).

Ingredients:
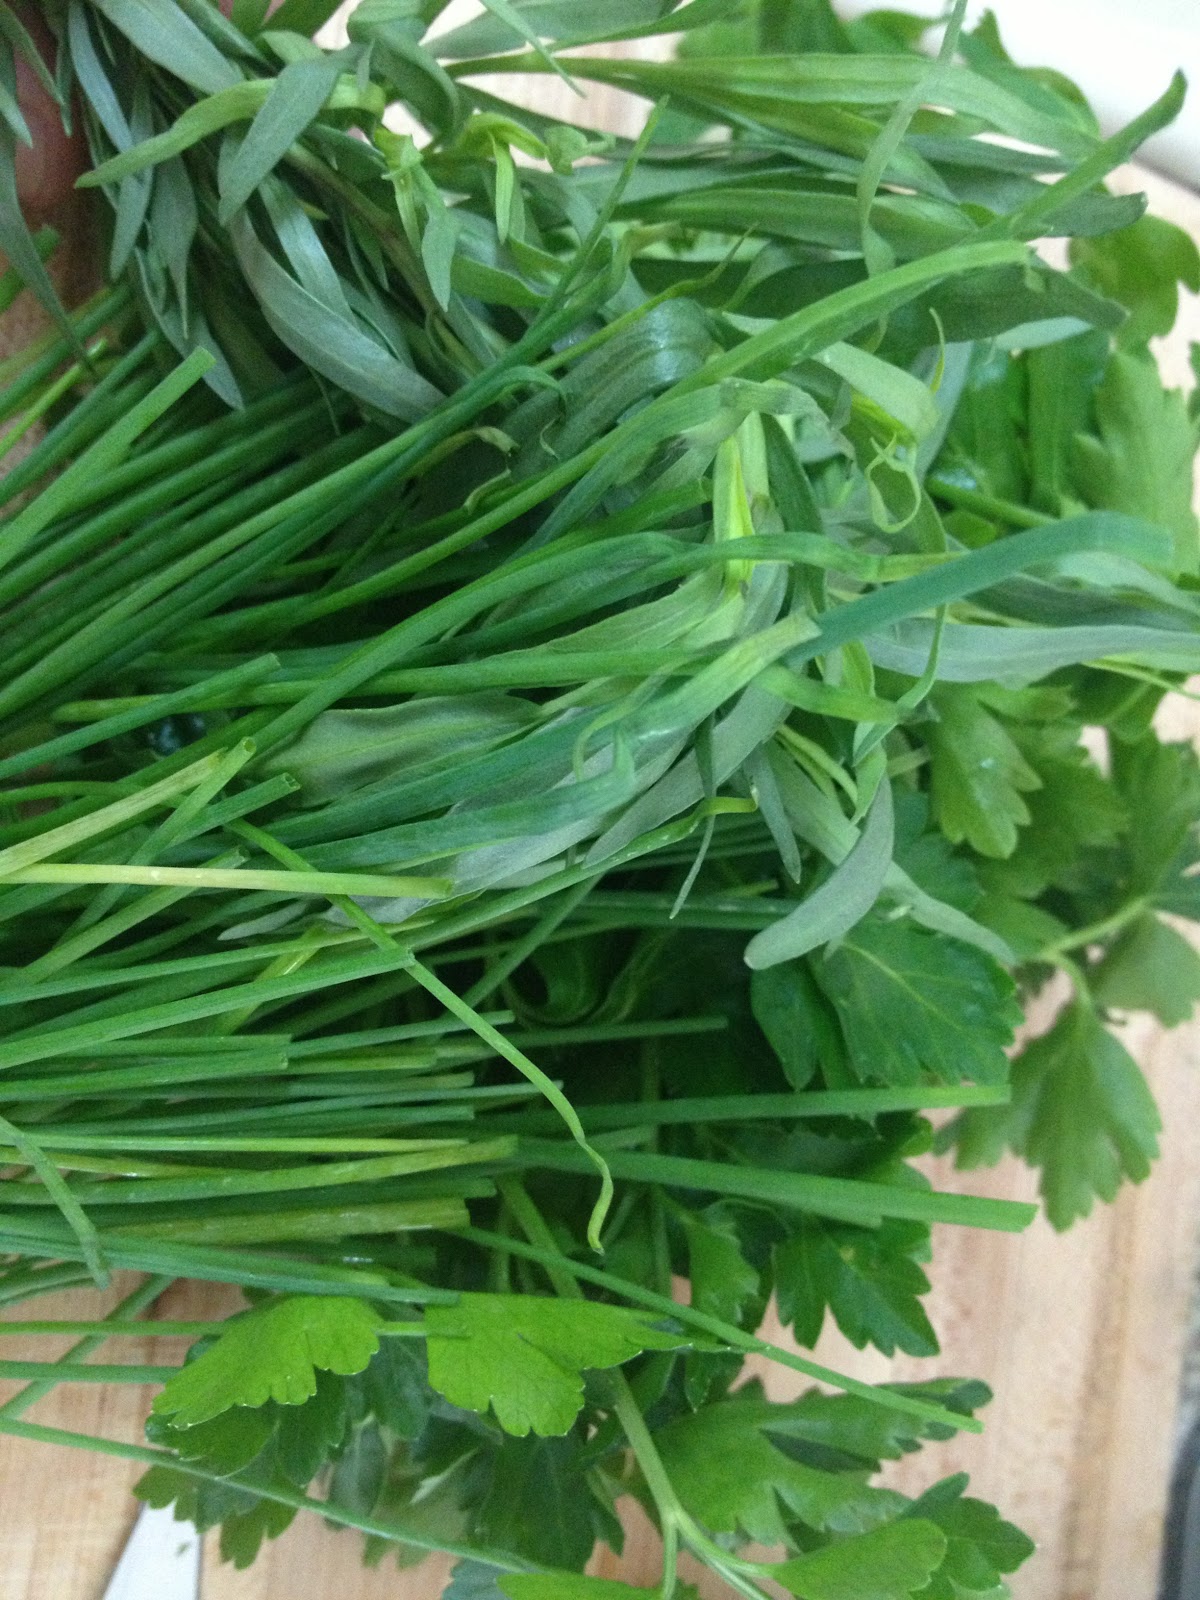
1 small handful Tarragon
1 small handful Parsley
1 small handful Chives
1 small handful Chervil
2 each Egg Yolk
1 Tbs Anchovy Paste
2 small cloves Garlic
Juice of 2 Lemons
8 ounces Grapeseed Oil
4 ounces Extra Virgin Olive Oil
3 Tbs Crème Fraîche
1 tsp Sherry Vinegar
Salt, to taste


(Note: this process will also work for Caesar and other emulsion-style dressings)

- Begin by blanching the four herbs in boiling water for only 1 minute or so.

- Remove, and immediately shock in ice water.  This blanching step helps keep the herbs green and prevents oxidation, but it is mostly optional.


- Squeeze the herbs, then make sure to give a rough chop
(they like to tangle up in food processor and blender engines)


- Place herbs, yolk and Anchovy Paste inside blender or food processor.  (The former is superior and will give a greener dressing, but either works.)


- Add lemon juice, continue blending.


- Drop in garlic cloves.


- Then begin drizzling Olive Oil slowly,
allowing the machine to continue blending.


- As the dressing thickens, it will begin spinning more smoothly.


- Check for taste, at this point, add the crème fraîche


- Sprinkle with salt and sherry vinegar


- and that's Green Goddess


To finish the salad menu, we've got sesame seared tuna with sesame dressing.

Chill before slicing.
Looks great, its that easy.
Dredge and sear in hot oil, allow sesame seeds to lightly toast


Cut and fry crispy wontons


Toast sesame seeds, add sesame oil, soy sauce, rice vinegar, and chinese mustard.  Blend smooth


- Boil cornstarch, rice vinegar, honey until thick.  Add to mixture.  Continue blending and add a stream of oil.


When the dressing is the correct consisitency, dress Spring Mix.


Chopped scallions, seared tuna and crispy wontons. Finish the salad.

Coming soon.....


So that should be the 3 salads we open the menu with.  Nice variety.  Still some kinks to work out.  Lots more work to do.

Stay tuned, soup's up next!

Wednesday, February 6, 2013

Prelude to Palo Alto Grill part 1 - Intro and Caesar


Exciting news: this chef has found a new home!  Palo Alto Grill is a New American Steakhouse on University Ave in Palo Alto.  Bruce Schmidt and Luka Dvornik, previously of Lavanda, will be running the show.  We will be featuring a variety of Steaks and other grilled entrees prepared a la carte with garnishes featuring quality Californian ingredients.  We will have an exciting selection of seasonal sides, as well as a full complement of creative appetizers.  Unlike many steakhouses, however, we will have many items on the menu, designed to please the vegetable lover or vegetarian palette.  Palo Alto Grill has adopted the philosophy of supporting local, sustainable and organic farms.  We believe in preparing food which showcases these ingredients in a modern, refined, yet casual context. 

We've got a lot to do before estimated opening at the end of February.  I will be demoing all of the dishes, as they are developed.  So the good news is, if you follow this blog, you'll get to see the menu as it comes together.


Starting at the top, I'll be popping out the salads.  My favorite salad being the Caesar.  Interesting thought I had while putting this salad together: In Italian cooking, it is mostly taboo to combine seafood and cheese.  I concur with this assessment, its really hard to appreciate the freshness of fish and the funkiness of cheese in the same mouthful.  This salad is one of those very rare exceptions, since the anchovies are quite cured.  Also, it's Mexican food.  It was invented by Caesar Cardini in Tijuana.  Bet you didn't see that coming!

I will be giving an expansive description of emulsion-style dressings in my next blog post.  To make a long story short, Caesar dressing is a combination of anchovy, egg yolk, lemon juice, garlic paste, grated Parmesan, black pepper and mustard, into which one whisks a slow stream of olive oil until a smooth emulsion is achieved.  I recommend using a food processor.  More on this process to follow.

This salad shall be filling two spaces on our menu.  In addition to providing an interesting take on the Caesar, I will be serving it as a Lettuce Wedge-style salad, also traditional to a steakhouse menu.

The dressing that we make is quite strong.  The creaminess of it is definitely secondary to the sharp flavors of garlic, lemon and parmesan, as well as the deep savory character of anchovy.  Because of this, one needs little more than a patina of dressing over the outside.  I love these flavor contrasts.  Instead of a delicate, light flavor release, like one would find in a completely tossed salad, the intense dressing hits your tongue with all its fury and is immediately washed away in a crunch of watery romaine.  Very bright and refreshing, a great way to start a meal.


Spanish white anchovies, or boquerones bring a briny richness.

But I'd like to add one more layer of intrigue to this Caesar.  Instead of croutons, I will be making warm Parmesan Gougeres.  Gougeres are like cheesy, airy pastry puffs, almost like a popover.


Ingredients for Gougeres:

1 cup Water
1 stick Butter
3/4 cup All-Purpose Flour
5 each Eggs
1/4 cup Parmeseano Reggiano, grated
1/4 cup Swiss melting cheese, grated
Black Pepper, to finish


- First, begin by placing the butter and water in a pan over high heat.  Let this come to a complete and roiling boil.

- Then add the flour and remove from the heat, stirring with a wooden spoon.  When the water reaches a boiling point, it is almost moving rapidly enough to emulsify with the butter.  Adding the flour at this point, almost freeze-frames the water and butter into this matrix.  This is what gives Gougers, eclairs and other choux-based pastries their puff.


-When the dough has come together, remove from the stove and place in a Kitchenaid or other stand mixer.


- Allow to paddle for a few seconds, then begin 
adding the eggs, one at a time.


- Be sure to allow each egg to fully incorporate before adding the next, or your gonna have a bad time

- When the batter is mixed, check the texture.  It should be just fluid enough to drip to a point from a spatula or the mixing paddle.  This is easy enough to achieve, but surprisingly difficult to photograph!  If you need to add more liquid, tradition says to add a bit of milk.  I say put a little bit of egg white.

- Finish by adding 75% of the shredded cheeses, saving the rest for sprinkling on top.


- Transfer the batter to a piping bag and 
pipe small domes of the dough onto a 
baking sheet.  If available, line with parchment

- Sprinkle with remaining cheese and lots of freshly cracked pepper.


- Bake at  350 F until bubbly brown and sexy.
Much more exciting than a crouton.


- Finish by shaving a bit more Parmesan,  and that's the Caesar Lettuce Wedge. 

Coming soon...


Saturday, February 2, 2013

Uncommon Pie Tricks

It seems lately I've been defending/championing a few techniques used in pie making.  These techniques are very easy to achieve, and make the pie baking process so much more easy and consistant. 
The apples that you choose are very important.  Most people think apples are apples, but this is far from the case.  Picture potatoes: some potatoes are great for mashing, but make terrible fries, and some make great baked potatoes, but are mealy and crumbly as potato salad.  Much like how potatoes have vastly different starch/water/sugar content, so too do apples.

When it comes to apples, Granny Smiths are delicious raw, but are almost the worst apples to cook, due to their high acidity and water content.  I selected a trio of apples for their individual attributes.  This is a risky maneuver as well, and I might not recommend it.  The different apples cook at different speeds, so while one cooks to mush, yet another varietal will still barely be tender.  I chose Honeycrisps for their apple-y flavor, golden delicious for their moisture (which did not work out), and Fuji's for a starchiness, which makes a really nice creamy tender texture.
(Note: its also very important to pick apples at the height of their season, so try for a varietal which is local and ripe and in season.  Otherwise the water content, starch and sugar could be way off)


Ingredients for Filling:

9 each Apples (about 5 pounds)
1 pound Sugar
1 Tbs Cornstarch
1 ounce Butter
1 pinch Salt
2 Vanilla Beans, split

Interesting trick 1: most pie recipes call for a tremendoes amount of cinnamon.  I've subbed vanilla beans, which makes for very nice flavor, and doesn't overpower the apples.


First, toss the apples in half of the sugar and the salt and allow to sit for at least 20 minutes.  This will draw the water out of the apples so that they cook quickly and evenly from the inside-out.

When the apples are shiny and most of their moisture has come to the surface, place them in a wide pot with the 2 vanilla beans and bring to a simmer over medium heat.


Cook until the apples become just tender.
(you can tell this by eating them.  Stop cooking when they have a nice pie-like consistency.  Some people like it more al dente.  I like it very soft)


Mix the cornstarch and just enough water to create a smooth slurry.

Drizzle into the liquid of the apples, keep heat high and stir constantly to prevent clumping.


If you are satisfied with the thickness, set the filling aside to cool completely.  If you'd like it thicker, feel free to drizzle more slurry.  (Aim thick, the apples will continue to release moisture)
Its very important that the filling be completely cool. Reserve the 1 ounce of butter for the final assembly.

Now onto the important stuff: LARD!!!

I have a high sensitivity to vegetable shortening.  I understand this is not an uncommon affliction.  Shortening can be quite hard to digest for most people.  However, butter and margarine are both unsuitable ingredients, due to their water content.  This leaves good old, traditional, extremely natural, essentially healthy (in moderation) delicious lard.  Lard is rendered pork fat, essentially the stuff that comes out when you cook bacon.  (another cool trick, try to save that bacon lard and make a pie crust from that for quiches...or even apple pie - why not!?)

Lard is nothing to be afraid of, and once you see how flakey, crispy, yet tender a crust it makes.  Despite being essentially a meat product, one detects nothing but a nutty richness in the flavor and smell of the crust.  Go ahead, give it a try, you won't be sorry.


Ingredients for Crust:

- 3 cups All Purpose flour
- 1 pound Lard

- 7 ounces Water, cold
- 1 Tbs Salt
- 1 ounce Sugar


Start by slowly cutting the lard into the flour by hand.  Do not overwork, you only need to reduce the size of the lumps of lard to that of hazelnuts or peas, as in the picture on the left.


Mix the water with the salt and sugar.

Add to the mixture of lard and flour (in the picture you can see vanilla beans, it was worth a try, but I wouldn't recommend it, the flavor of the filling is sufficient.)

Very gently bring the dough together.

When the dough is combined, but still slightly crumbly, wrap it in plastic and refrigerate for a half hour.


After the dough has chilled, split in half and sprinkle both halves liberally with flour.  Gently roll each half out to 1/8 ".

Lay the first half of the dough over the pie pan, cut off extra trim and make sure it conforms to the pan perfectly, without air bubbles.

(Note, cast iron, enamel, etc is far better for pie baking than aluminum.  Aluminum will give you a crappy bottom crust 10/10 times.  Next time I will not repeat this mistake.)


Poke holes to allow excess air to escape.


Fill with chilled pie filling from before, dot with the 1 ounce butter.


Cut the other half of the pie into leaf shapes.  This can definitely be done with a special cookie cutter.


Lay the leaves out over the filling.  Make sure the seal near the edge of the pie is as tight as possible, this is where the filling will most want to leak out, the further you can push this towards the center of the pie, the browner and crispier the crusts you will be able to get.


Crack and scramble an egg and paint over top crust, this will give a nice golden finish.

Sprinkle entire crust lightly with granulated sugar to give an extra crunch.


Bake pie at 375 - 400 degrees F until well browned and bubbly, at least 30-40 minutes.

Remove pie from oven and allow to cool completely before slicing.  This allows the starches to firm up and keep the juice in place.


The pie turned out pretty well, but it was far from perfect.  Next time, I will seal the outside of the crust more completely and use a cast iron pan.  Along with those two tips, try the following next time you  make a pie:

- Look for a few specific characteristics when choosing your fruits!
- Macerate fruits before cooking to break down for quick cooking.
- Pre-cook the filling for evenness and consistency
- Try vanilla or another spice to change things up from cinnamon.
- Allow the filling to cool completely before baking.
- Lard ROCKS!!
- Chill the crust before rolling it out.
- Eggwash and sprinkle granulated sugar for a beautiful golden crust.

Cool beans.