 The story starts one day a few years ago. At the time, I was working as a Pastry Chef. My Chef mentioned to me that I should reconsider using Gelatin in my desserts. The fact that it is an animal product is a little bit creepy and having to tell vegetarian (or kosher) guests that they cannot enjoy a particular dessert or dessert element tends to give one pause. He recommended that I use Agar Agar. I was never the same after that...
I spent years trying to eliminate the need for gelatin in everything - mousses, gelees, Panna cottas, marshmallows, gummy candies, espumas, etc. I was all about Agar Agar. I came pretty close to making a complete conversion.
In the end, it's hard to argue with gelatin's uniquely pleasant tender elasticity, I do love it. I now use either Agar or gelatin depending on the value of either product in the current application.

One application that must be made with Agar Agar is cold oil beads/pearls. This technique is achieved by dripping a solution which contains melted Agar along with the flavor base - juice, puree, syrup, vinegar, etc. The droplets are made into oil, which keeps the gelling liquid separated into individual drops. We keep the oil chilled so that by the time the liquid reaches the bottom, it has set into a perfectly shaped gelee.
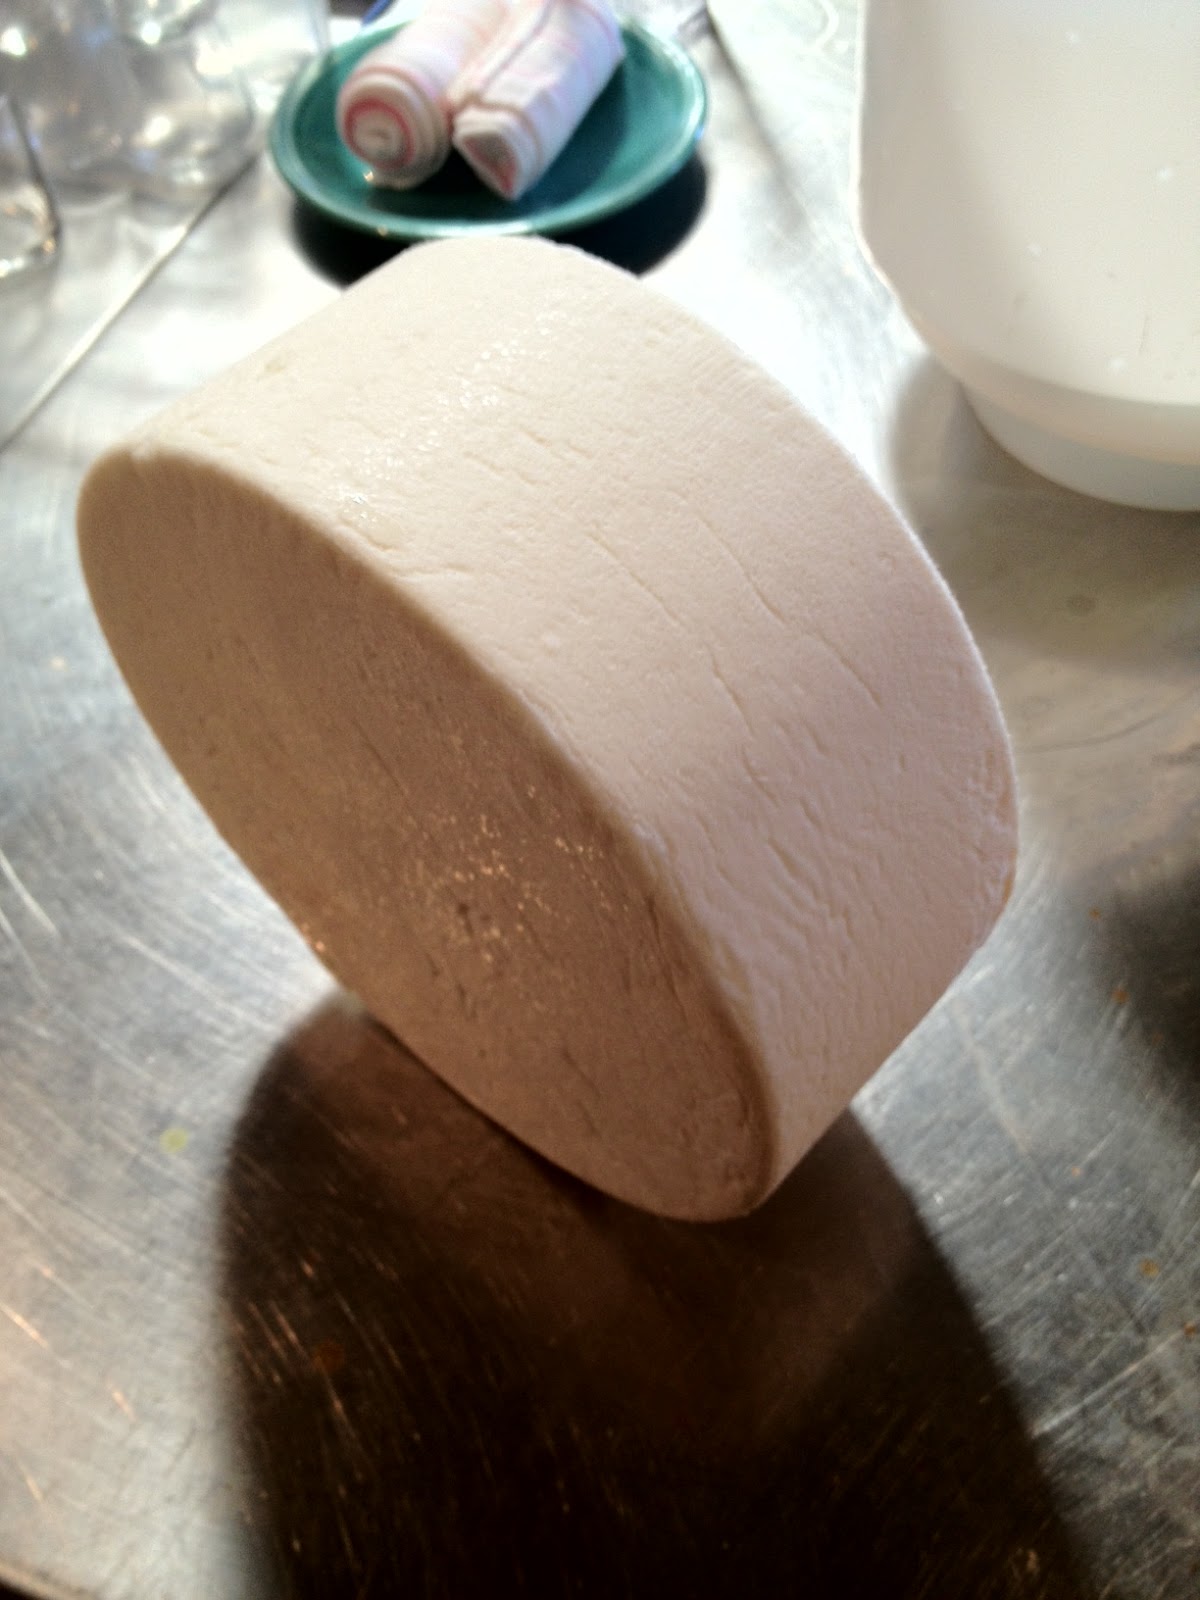
 I always use thread Agar Agar. (In my next post, I will be explaining more about the history and process of creation of Agar Agar) It seems very trendy and common to use powdered Agar, but for me the powder is expensive, difficult to control and less consistent in strength. In order to use the thread Agar, one must soak it in water for up to (ideally) an hour. At the restaurant, we always keep a package of agar held in water in the refrigerator so its always ready.
Lemon Crème Fraîche "Pearls"
Ingredients:
15g Agar Agar, soaked and drained
150g Water
115g Creme Fraiche
35g Lemon Juice
Salt, TT
- Several hours before you begin, start by freezing a neutral oil (grapeseed, canola, vegetable) in a tall narrow (preferably clear) container.
 - When the oil is well chilled, begin by boiling the water and Agar by themselves over medium-high heat, whisking twice.
 - When the Agar is fully dissolved, turn off the heat, and add the Lemon Juice and Crème Fraîche whisking until smooth and seasoning with Salt(note, acid will prevent the Agar from gelling correctly, if it is brought to a boil, so it must be added only once the heat has been turned off)
- Transfer to a squeeze bottle.
- Remove container of oil from freezer and drip solid droplets, one at a time, trying to utilize the entire surface of the oil.
- When all of the gel has been formed, strain oil off, reserve for another use and store pearls in refrigerator until ready to use.


At the restaurant, we use the pearls to garnish our Linguini with Clam Sauce. We like to bring foods to life in a natural way and being able to serve edible pearls is a way to do this.

This recipe can easily be modified for any flavor or other application. One need only replace the Lemon Juice and Creme Fraiche with 150g of any other liquid. The following is a Pomegranate jelly bead from our Tart dessert.
Now that I've got you on the edge of your seat, more on Agar Agar to come, its going to be Sick!


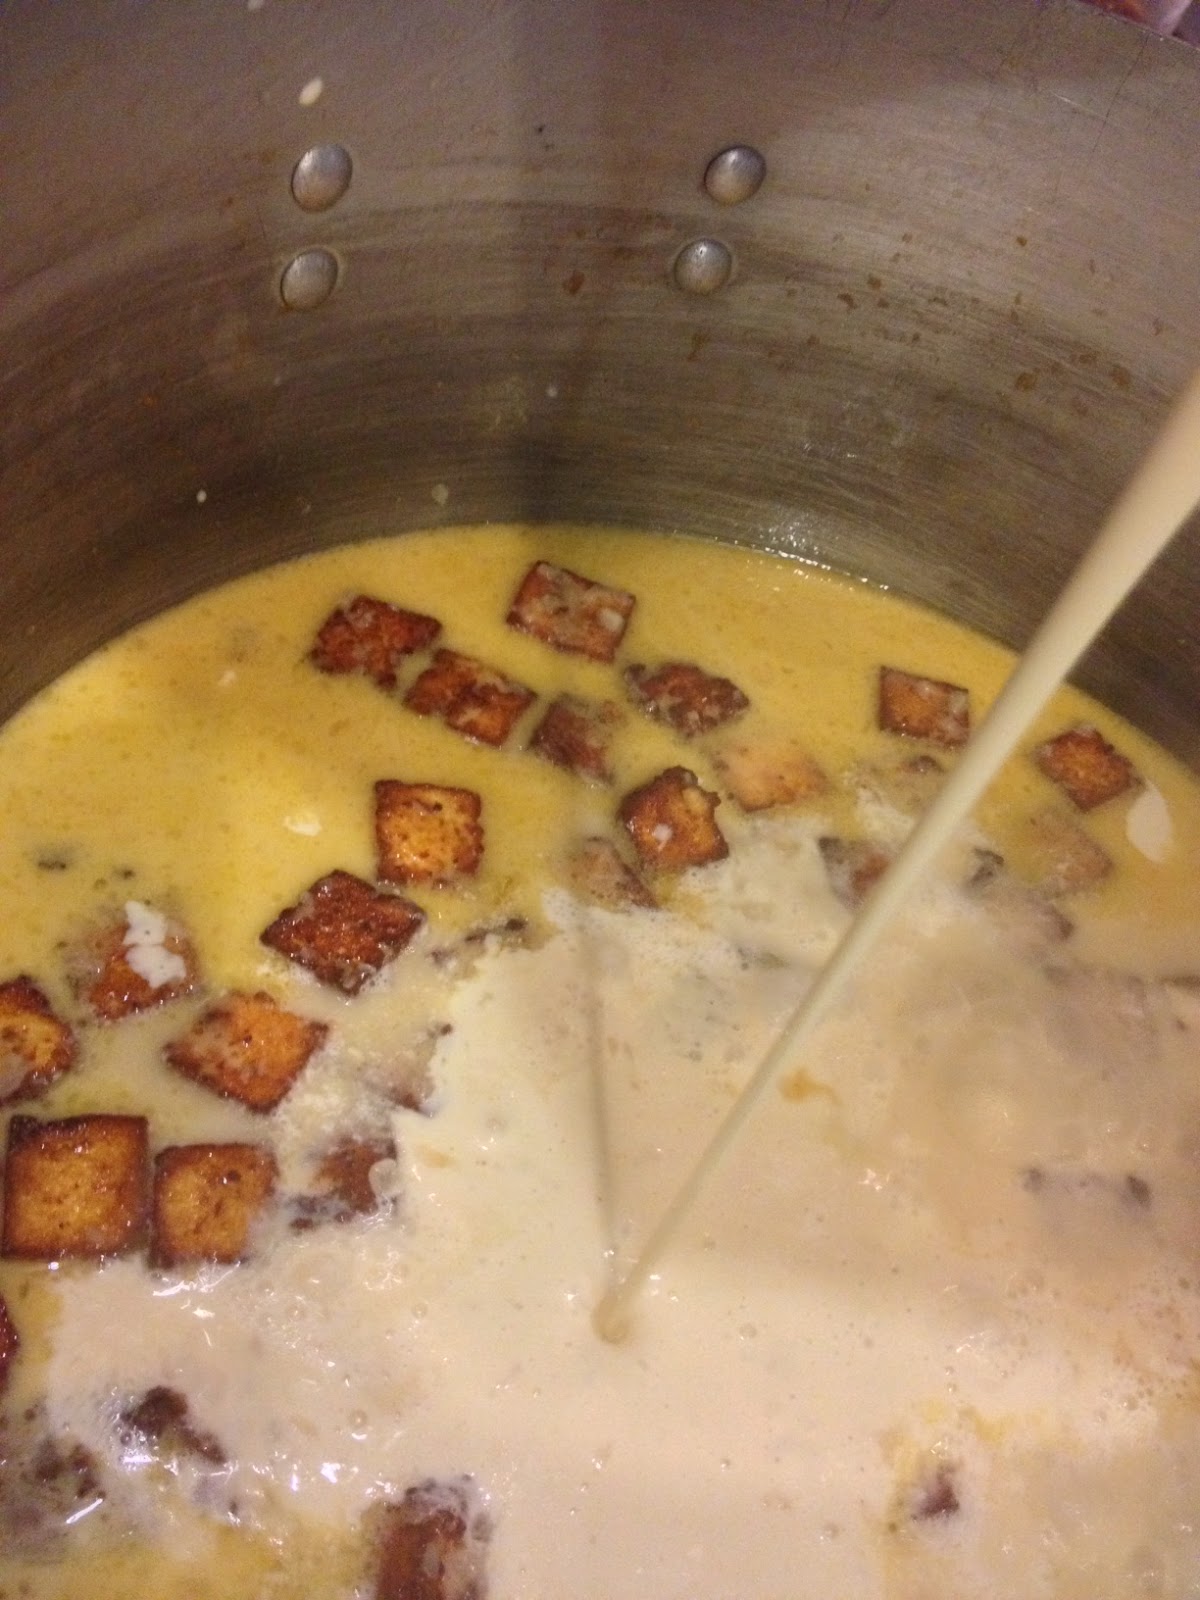
 At, Le Cigare Volant, we currently serve our Breaded Ricotta with Blistered Chard, Butternut Squash Gnocchi, and Carrot/Pumpkin Puree. The flavor accents come from a compote we call Apple Agrodolce, which is an Italian sweet and sour sauce. We draw a line of Parmesan Puree on the dish in front of the guest. This puree is sharp, tangy and bright with acidity and salt, allowing us to accent all of the rich flavors in the dish. By drawing the line, we force the guest to pull the food through the condiment, creating a very interesting, slow, and complex flavor release.


